Arnold Palmer acquired Bay Hill Club and Lodge in 1975, with it becoming an annual PGA Tour stop in 1979. One of the tougher courses on tour, the cream usually rises to the top at the end of the week at Bay Hill. Tiger Woods (8), Rory McIlroy (2), Ernie Els (2), Vijay Singh, Fred Couples and Scottie Scheffler (2) are just some of the names that have won this event.
Below is a hole-by-hole of all 18 holes at Bay Hill Club and Lodge ahead of the Arnold Palmer Invitational.
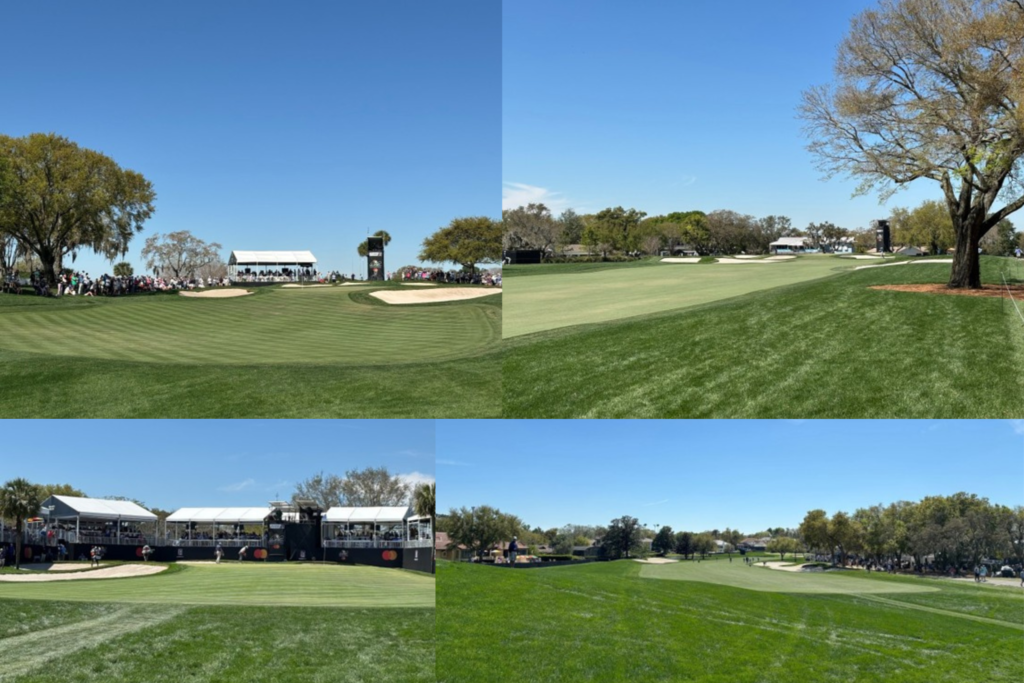
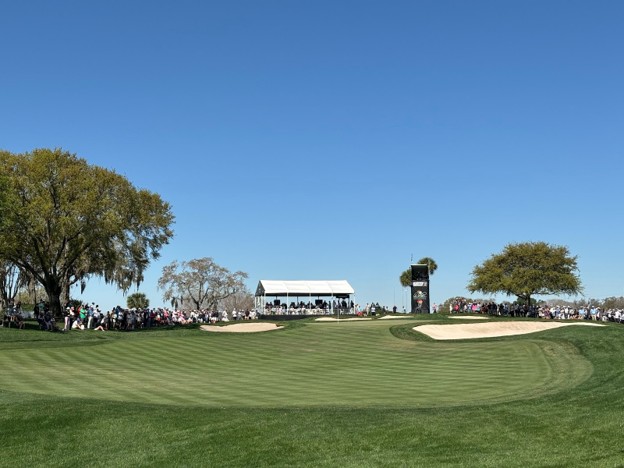
Hole 1 | Par 4 | 461 yards

Right from the start, the players are faced with a difficult first tee shot. A dogleg left with bunkers on the right side at 310 yards and trees down the left make for a tough choice. Layup off the tee and they have a mid to long iron in, or hit the driver and have a wedge in – if they hit the fairway. Two bunkers in the front and the back protect this green that slopes from back to front.
Hole 2 | Par 3 | 231 yards
A long par 3 that forces players to hit a long iron when the tee box is pushed all the way back. Players that miss short left or in the back bunker will have trouble getting up and down for par.
Hole 3 | Par 4 | 434 yards
The first hole that water comes into play – down the left side of the fairway. Another hard dogleg left forces the players to aim at a bunker on the right side of the bend of the fairway. A long but narrow green is protected by three bunkers and water on the left side of the green.
Hole 4 | Par 5 | 561 yards
The first of four par 5s on the course. It will take the players two long and accurate shots to hit the green in two. A creek and out of bounds is down the right side of the fairway with trees lining the left. The green is elevated just slightly so any miss short or right will have players chipping from below the putting surface, leaving a challenging up and down.
Hole 5 | Par 4 | 390 yards
The shortest par 4 on the opening nine holes. Bunkers on the left and right side of the fairway pinch in and narrow the fairway. Players who lay up off the tee will avoid the bunkers and leave a longer second shot into the green. A hump in the middle of the green will make for challenging two putts.
Hole 6 | Par 5 | 555 yards
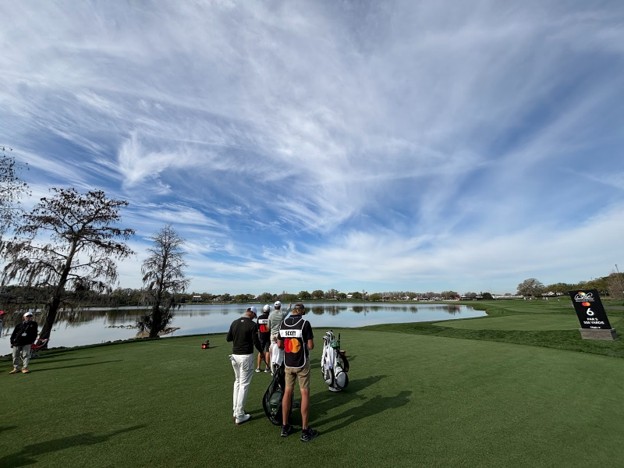
Maybe the most iconic hole on the property is this par 5 that Bryson DeChambeau famously hit his tee shot 370 yards over the water leaving him just 70 yards to the hole. Most players will aim for bunkers on the right side of the fairway to avoid the water. But if the tee shot lands in the bunker, they have to decide whether they will go for it or lay up.
The green is protected by the water on the left and two bunkers on the right. If the players get aggressive off the tee, an eagle can be had, but a poor drive and they are looking at par or worse.
Hole 7 | Par 3 | 199 yards
This is the shortest par 3 on the course. There are four bunkers surrounding the green, two in the front and two in the back. If the players find the back bunker, they will have a challenging shot onto a green that will be running away from them. The green itself has multiple tiers, with the back portion of the green being pretty flat; however, the front of the green slopes from front to back. The players will need to make sure they hit the correct tier or they may be walking off the green with a bogey on their card.
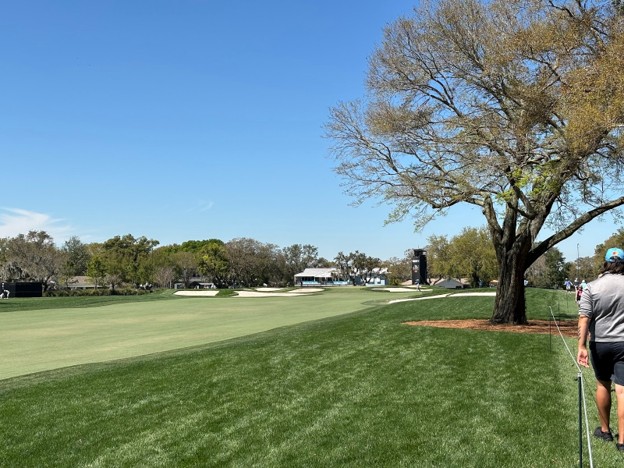
Hole 8 | Par 4 | 460 yards
This hole is the first dogleg right the players will face in their round. A bunker on the left side at 300 yards and the bend of the dogleg on the right give the players a narrow fairway to try and hit. A difficult second shot awaits the players thanks to the pond they must go over to hit a green that has bunkers on the right and behind it. Once on the green, the players will have to navigate a slope going from back to front towards the water.
Hole 9 | Par 4 | 474 yards
The players will finish their front nine with a straightforward par 4. Players will have to carry 300 yards to cover a bunker on the left side of the fairway. Hit the fairway and players will have a short iron or wedge into the green. Do not miss the approach shot or the players will find themselves in a bunker guarding the front left and right of the green.
Hole 10 | Par 4 | 400 yards
As the players make the turn to the back nine, they are greeted with a short par 4. Another dogleg right, the players will have two options off the tee: hit less than driver and land it between two bunkers about 250 yards from the tee or take an aggressive line and try to clear the bunkers and land in a narrow fairway. The approach shot is a little uphill to a green that slopes from back to front. Two bunkers front left and right guard this hole and leave a challenging bunker shot for the players.
Hole 11 | Par 4 | 438 yards
This par 4 is a dogleg left that bends around water. If the players avoid the water to the left and the two fairway bunkers to the right, they will have a wedge shot into the green. Bunkers in the front and to the right and the water on the left protect this long, narrow green. Landing in either bunker will give the players a difficult up and down onto a green that slopes from right to left.
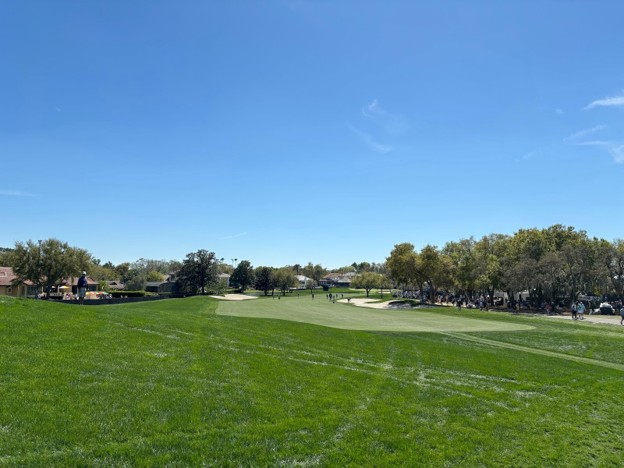
Hole 12 | Par 5 | 574 yards
This long par 5 will challenge the players’ accuracy and distance on each shot down the stretch. A bunker on the right side of the fairway will need a carry distance of 275 yards to clear it. If players lay up on their second shot, there are a pair of fairway bunkers about 100 yards from the green they will need to avoid. A bunker on the left and right side of the green will challenge the players to hit an accurate approach.
Hole 13 | Par 4 | 390 yards
This is one of the shorter par 4 holes on the course, but shorter does not mean easier. Players will take less than driver to hit the narrow fairway with bunkers as guardrails. Find one of these bunkers and hitting the green in regulation becomes much harder. The front and right side of the green is protected by water while the left side has two bunkers. Once on the green, the putts will break towards the water.
Hole 14 | Par 3 | 215 yards
The first par 3 on the closing nine holes. To the left and behind the green are two bunkers. Short and right of the green is a little collection area where players will decide whether they should chip or putt onto the green. This green will slope from front to back.
Hole 15 | Par 4 | 429 yards
This dogleg left hole will force players to take less than driver off the tee. The fairway bunker only needs a carry of 250 yards, but the fairway gets really narrow around the bend. Players will need to be accurate with their approach as two large bunkers are in the front of the green while another bunker and collection area are in the back.
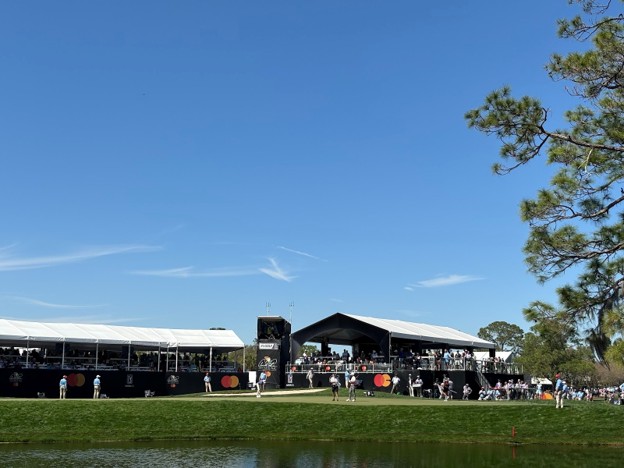
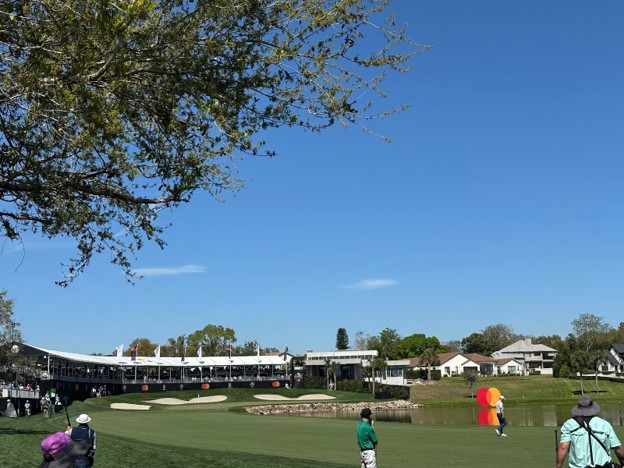
Hole 16 | Par 5 | 511 yards
The final par 5 on the course will give the players an opportunity to card a birdie as they finish their round. An accurate tee shot will give the players the ability to hit the green in two. There is out of bounds down the left side and water in front of the green. Three bunkers short, right and behind the green call for a strong approach shot from the players. Two good shots on this hole, and the players will have a chance for eagle or birdie.
Hole 17 | Par 3 | 221 yards
This par 3 has changed since last year’s tournament. There used to be a long greenside bunker on the right side between the water and the green. Now it is just a grass bank of thick rough the players will want to avoid at all costs. If players go long, there is a bunker and water waiting for them. Hitting the putting surface is crucial for making par before heading to the 18th tee.
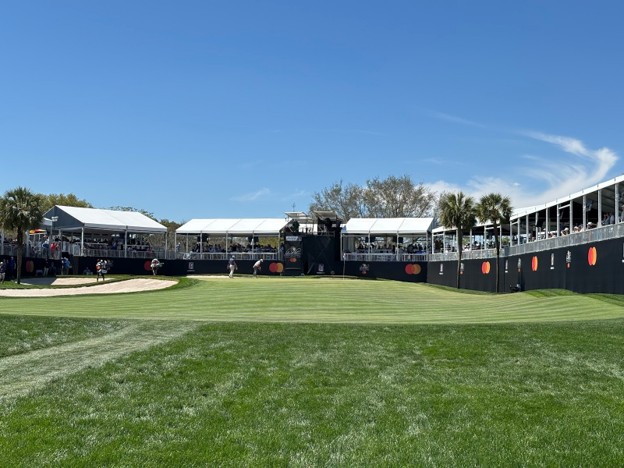
Hole 18 | Par 4 | 458 yards
The final hole calls for an accurate tee shot to stay in play. Down the left side of the fairway is out of bounds and to the right is water. Finding the fairway will give the player the best chance at par or better. The pond guards the front of the green while there are three bunkers left and behind the green. Once the players reach the green, the slope breaks back to front towards the water.